Adding Usermaven to Webflow
In this guide, you will learn about how you can add the Usermaven tracking pixel on your Webflow website.
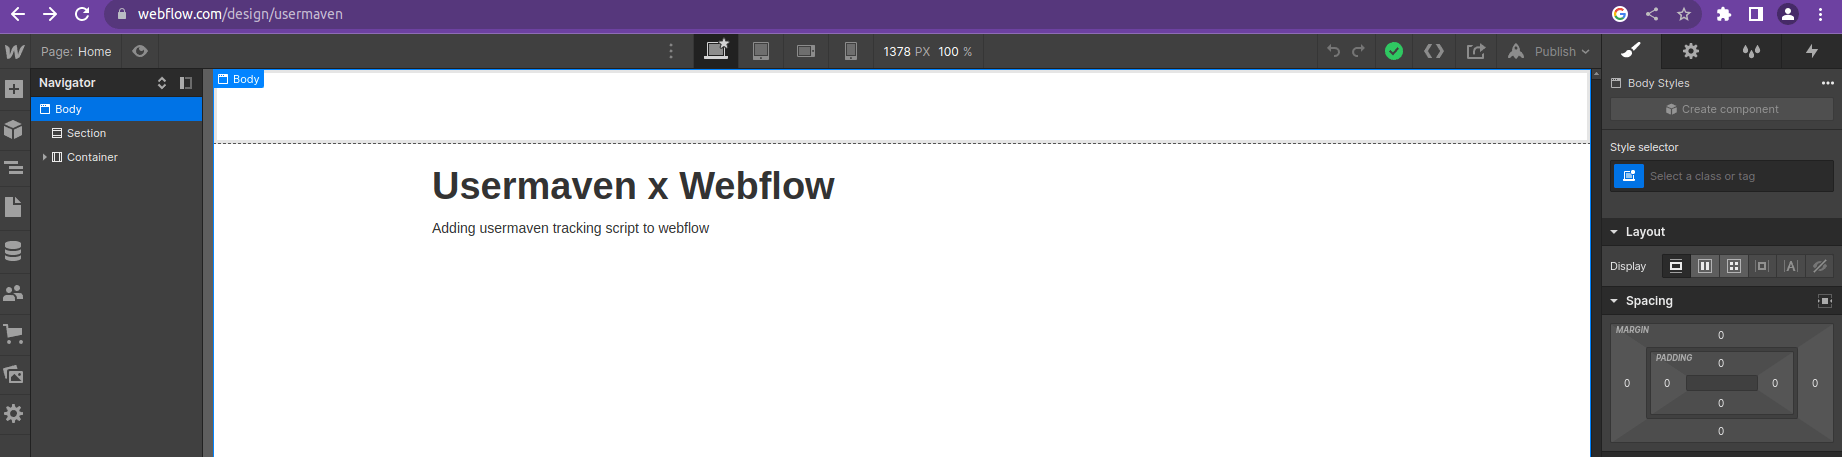
Go to your Webflow website and log in. On your project’s page, click on the Webflow logo (“W”) in the left-hand side menu and choose “Project Settings”.

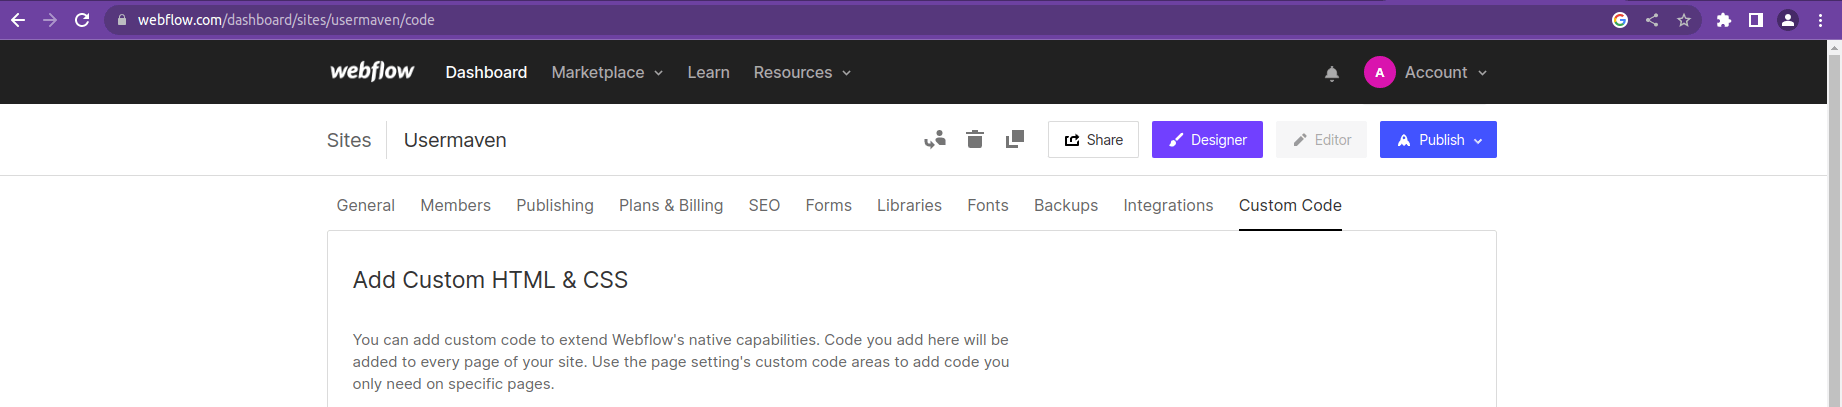
You can use the “Custom Code” feature in Webflow to add Usermaven tracking snippet to your website. Site-wide JavaScript code injection is a premium Webflow feature so you need to upgrade your Webflow account to a paid subscription plan.
Choose “Custom Code” from the menu and paste your Usermaven tracking snippet in the “Head Code” section.
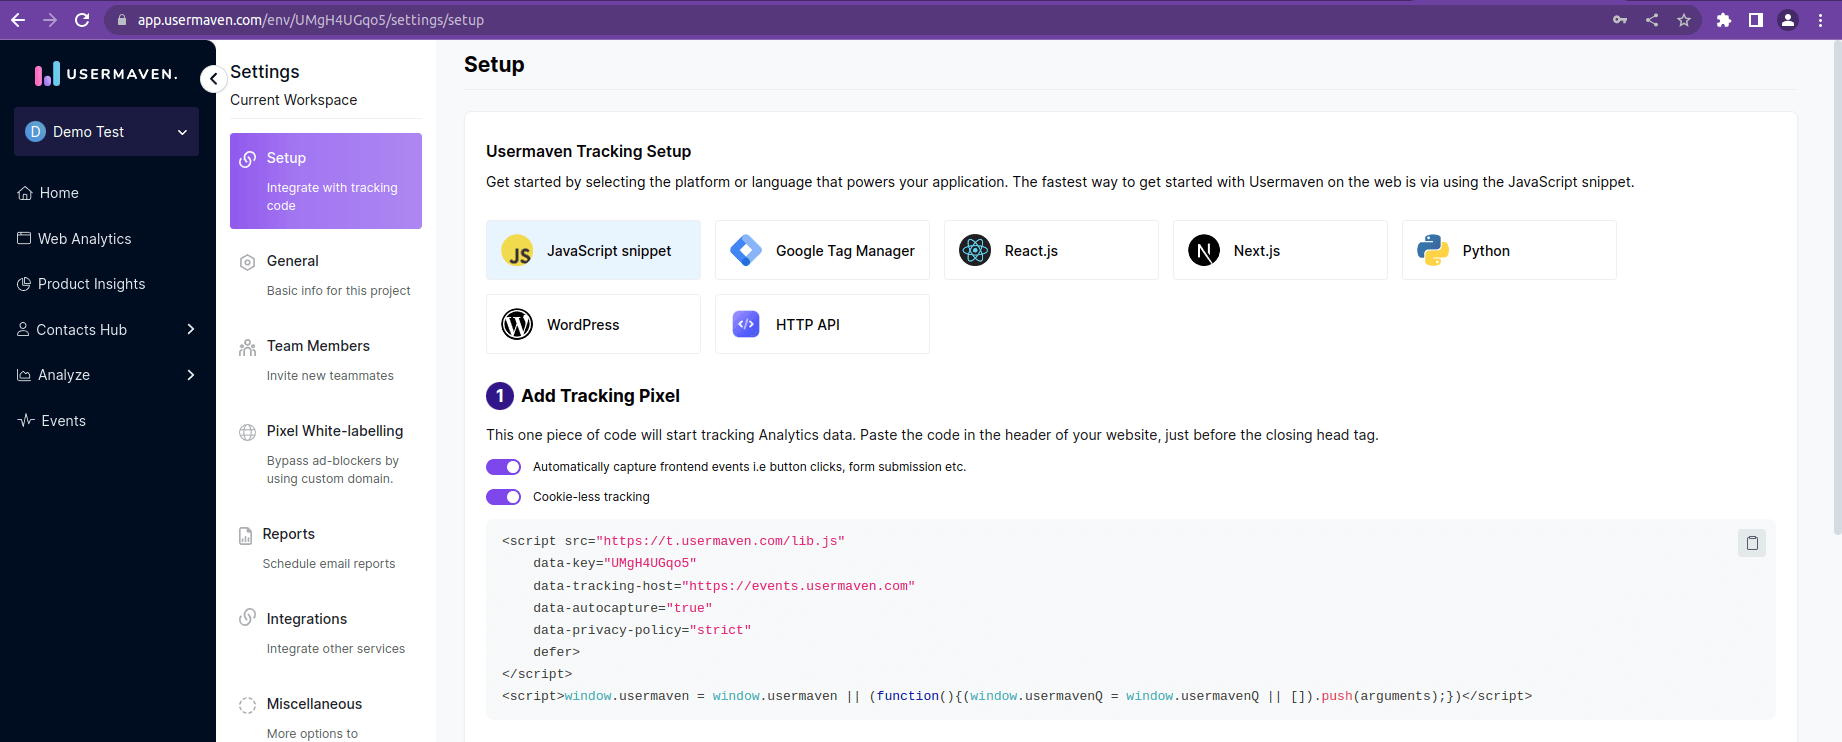
Your Usermaven tracking script code will look something like this:
<script src="https://t.usermaven.com/lib.js"
        data-key="API_KEY"
        data-tracking-host="https://events.usermaven.com"
        data-autocapture="true"
        data-privacy-policy="strict"
        defer>
</script>
<script>window.usermaven = window.usermaven || (function(){(window.usermavenQ = window.usermavenQ || []).push(arguments);})</script>;
To access the your exact tracking snippet code, follow these steps:
- Log in to your Usermaven account.
- Navigate to the Workspace Setup section.
- Locate the javascript snippet in Add Tracking Pixel section, copy it and paste it inside the custom code’s Head Code section of webflow project settings.
Do click on the “Save Changes” button and then “Publish” your changes.
That’s it. Now, your Webflow website will start sending important data to your Usermaven workspace. To verify, you can go to your usermaven account to see whether the stats are being tracked.